This screenshot shows the Configure dialog, after selecting a Copy Attributes command in the commands list in the left pane and then pressing the View/Edit button.
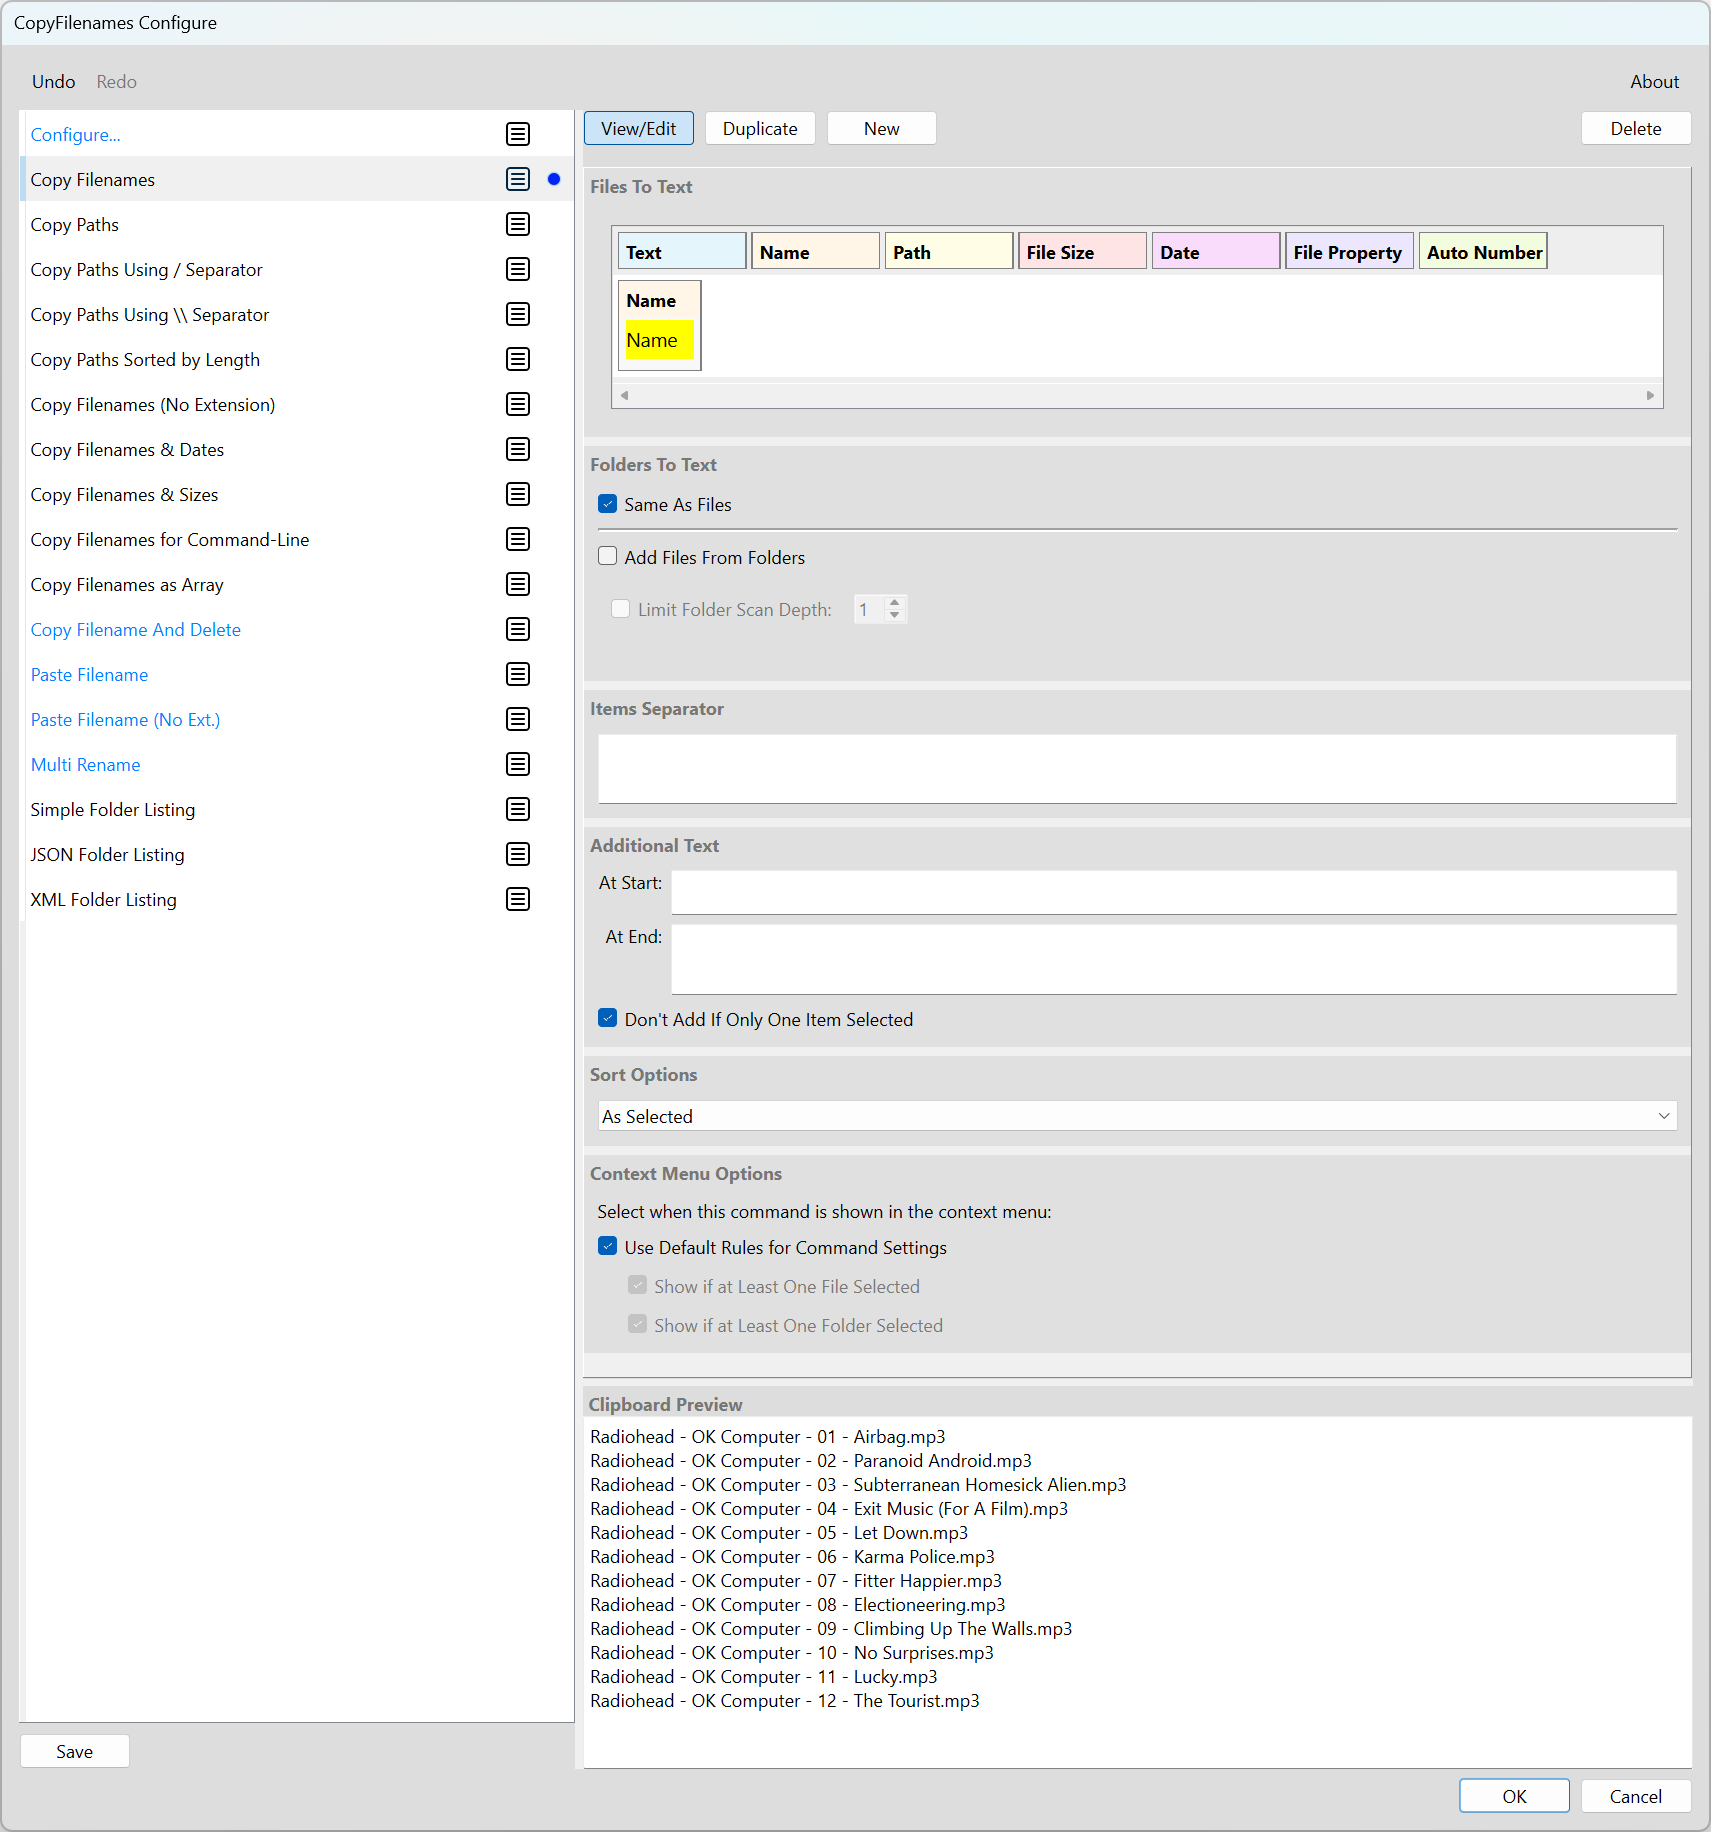
In the screenshot above, the command selected is the simple Copy Filenames command that just copies the name of each selected file or folder, one per line.
The Files to Text section at the top of the screen shows how the text is generated for each file. In this example, only the name is needed as can be seen.
There are six sections in this panel.
Files to Text
This section lets you configure the text generated for each selected file.
Add one or more parts to build up the text you want.
Folders to Text
This section lets you configure how folders are processed. This only has any effect if one or more folders are selected when the command is used.
The first check-box in this section is Same As Files, which gives two main options for how folders are processed. If this box is checked, you get a further option Add Files From Folders that determines whether folders themselves are processed as if they were files, or whether the files inside the folders are read.
Note that recursively reading folders is not available in the free version of CopyFilenames. You need a PRO license for any commands that are configured for this.
Essentially this means that the only option that is available in the free version is when Same As Files is checked and Add Files From Folders is unchecked. You can still configure commands that use the other options in the free version, but you will be unable to copy the text generated until you have a PRO license.
There are the three options available with these two check-boxes (since Add Files From Folders is not shown if Same As Files is not checked):
Treat Folders exactly like files
For this option, you need:
Same As Files - checked
Add Files from Folders - unchecked
With these options selected, folders are treated the same as files, and the rules that are set for files in the Files To Text section are also applied to any folders.
If a property is not available for a folder (such as file size), then blank text will be generated for that value.
Expand folders and process the files they contain
![]() license needed
license needed
For this option, you need:
Same As Files - checked
Add Files from Folders - checked
With these options selected, then for any folders selected, all the files in those folders are processed instead of the folder. This continues recursively for any sub-folders in those folders. You can limit the depth of the recursion by checking the Limit Folder Scan Depth check-box. This will limit the depth to the number selected, where a depth of 1 means just the files in the folders selected are included, a depth of 2 also includes files in the direct sub-folders of those folders, and so on.
Configure different rules for folders
![]() license needed
license needed
For this option, you need:
Same As Files - unchecked
With this option selected, you can set different rules for folders. For each folder selected, the configuration you set in this section will be used. Most of the same part types are available as for files, but there are also two additional folder part types that allow folder recursion. These allow quite complex rules to be set up. Examples of these can be seen by looking at the Simple Folder Listing, JSON Folder Listing and XML Folder Listing commands in the default commands list.
Items Separator
This is where you can set the text that is added between the text generated for each of the selected items.
Common values are a newline, a newline and comma, or a space.
The difference between setting an items separator and just adding a Text part to the end of the parts for each file is that the items separator text is not added after the final item, unlike any text which is part of the text for every item.
Additional Text
This section is where you can add any additional text you want before the first item and after the last item. An example of where this might be useful is that it allows developers to include array characters surrounding the generated text. Another example is that it could be used to add a heading to the text.
Sort Options
Unless the sort option is set to As Selected, then all the items are sorted in the way selected.
Note that when leaving the sort As Selected, you may not always get the result you expect due to the way Windows File Explorer provides the list of selected items to extensions such as Copy Filenames.
Sorting by Path Length can be useful if you want to find the longest path in a folder hierarchy.
Context Menu Options
The final section in this panel does not affect the text generated.
Instead, it affects whether the commands are shown in the context menu.
The only thing that affects whether commands are shown is whether any files, or any folders are selected in File Explorer.
By default, all commands are always shown in the context menu except those commands that are configured to read the contents of folders - those will only be shown when at least one folder is selected.
You can override the default behavior for particular commands by setting the options here. This allows you to hide certain commands if only files are selected, or if only folders are selected.